Showing posts with label class. Show all posts

Monday, February 17, 2014

Speaking of Classes!


Pastel
Instructor: Chris Cernetisch
www.pastelchris.com
$135 per day or $375 all 3 days
 
Pastel is one of the 4 classes during the Art Retreat July 25, 26, 27th 2014. 
Chris has provided me with a rough outline of her plans for her class.
 
 
Her plan is to provide 3 separate days of different approaches for this Pastel medium. 
Take one day, two days, or combine everything and grasp a HUGE bang experience putting it all together for all 3 days.
 
Chris is a powerful instructor, and a master of Pastel painting.
 
I have been given instruction from her and she doesn't 'simply instruct'  she imparts knowledge.  Years of trials and happy outcomes. 
The products that are fabulous and the products to try at a later time.
 
I have had the pleasure to watch her paint. 
Just watching her paint is so mesmerizing AND instructional!
The skill!! that oozes from her so easily. 
Her confidence is infectious! 
Watching her demonstrations alone, are forth coming with heaps of technical application.
 
She shares so much throughout the demonstrations.
 
As I list her given outline, do not read the list and think, well I am already good with that much...perhaps...perhaps not.
 
Know this, Chris covers a LOT of area and products...the one day alone will bring you forward in your Pastel studies, if not just remind you of the materials out there that you may have wanted to try, and concur that perhaps you might not waste the monies on that particular product just now...and move forward to something different on your list.
Again, covered in the class...day ONE!
 
We encourage you to consider this retreat if you have always wanted to try soft pastels but have no idea how to begin. 
If you have dabbled with the soft Pastels but were disappointed.
To brush up on skills gone rusty.
 
This is the class and instructor for that!
 
Gaze upon the above picture... look at the MOVEMENT Chris achieves.  Though my photo can't begin to bring forth the depth engaged in her painting nor the colors that make the painting a frozen moment in time...look at how mighty the painting still comes through!
 
Chris is a powerhouse of a painter.
You can not help but come away from her class full of inspiration and excitement and want to run back to your place and engage in all the technical 'knowledge tools' Chris will provide you.
 
So, Look over this list and decide will I take 1, 2 or all 3 days.
 
Day 1- A thorough discussion of different brands of Pastels, papers and other tools and supplies, plus ways to apply the Pastel to paper.
 
Day 2- Learn how to choose the paper, lessons on color and value, using these ideas to create an under painting ready for a finished piece.
(the lessons for color and value transcend to every medium)
 
Day 3- Putting it all together!  We will work on a painting or 3! using the new skills.
 
There is a provided list of materials the student will be responsible to bring, available upon reservation.
 
A brochure is being written that covers tuition, lodging, and the lodge the retreat is being held.  For information, and to be placed on the mailing list. 
 
Contact: The Stagecoach Gallery (in Platte SD)
605-337-2308
email: Mary @ mshemeral@midstatesd.net
July 25, 26, 27 2014
 
Don't miss out on this retreat in the center of the West.  Were the Lodge is set on gorgeous grounds conducive to inspirational walks where you may want to set up and paint, or photograph while you relax in natures abundance of~peace.
 
Join a set of instructors:
Chris Cernetisch ~
Pastel
 
Bonnie Brahms~
Watercolor
 
Chad Phillips~
Photography
 
Mary Hunt~
Staining Glass Traditional Method
 
 
Come away from the retreat refreshed and full of renewed inspiration and gobs of knowledge.
 
Have a great day!


Sunday, February 16, 2014

PARRRTTYYYY First of the Season!


Let's share the party experience!

First of all there is no experience required.  No pre-requisites.  The ONLY requirement, is you want to have a good time and maybe, just maybe be open to a whole new avenue of habit.

These ladies have never picked up a brush before. 

Never dabbled in paint. 

Never did they think they would come away from the experience with a painting, a really good painting!


They are working the brushes and have a great time teasing each other, but they did a really good job!!
They are learning how to work in acrylic.

Let me refocus...~THEIR FIRST EVER PAINTING~

They accomplished this project in just 2 hours, that is a give or take magic time...


This is just one class offered at the Stagecoach...so come on by and see what other options have already become listed, or have a plan customized to you! or your group.
A lot of new this year!

Platte, SD

Lets have a round of applause for these ladies they did a fabulous job!

Thank you for being brave and overcoming your fears about painting...:)

Have a great day!


Thursday, February 13, 2014

Retreat Class Traditional Glass Staining


Staining Glass Techniques used by the Old Masters taught by Mary Hunt
www.maryshuntstudio.com
FULL 3 day workshop
class begins at 8 until...with evening participation

materials are included in this fee
the glass substrates
glass staining stains and binders
patterns
kiln firings

USE of a light box source
USE of brushes and palette knives (encourage student to bring their own)
USE of glass palette
handouts
$435.00

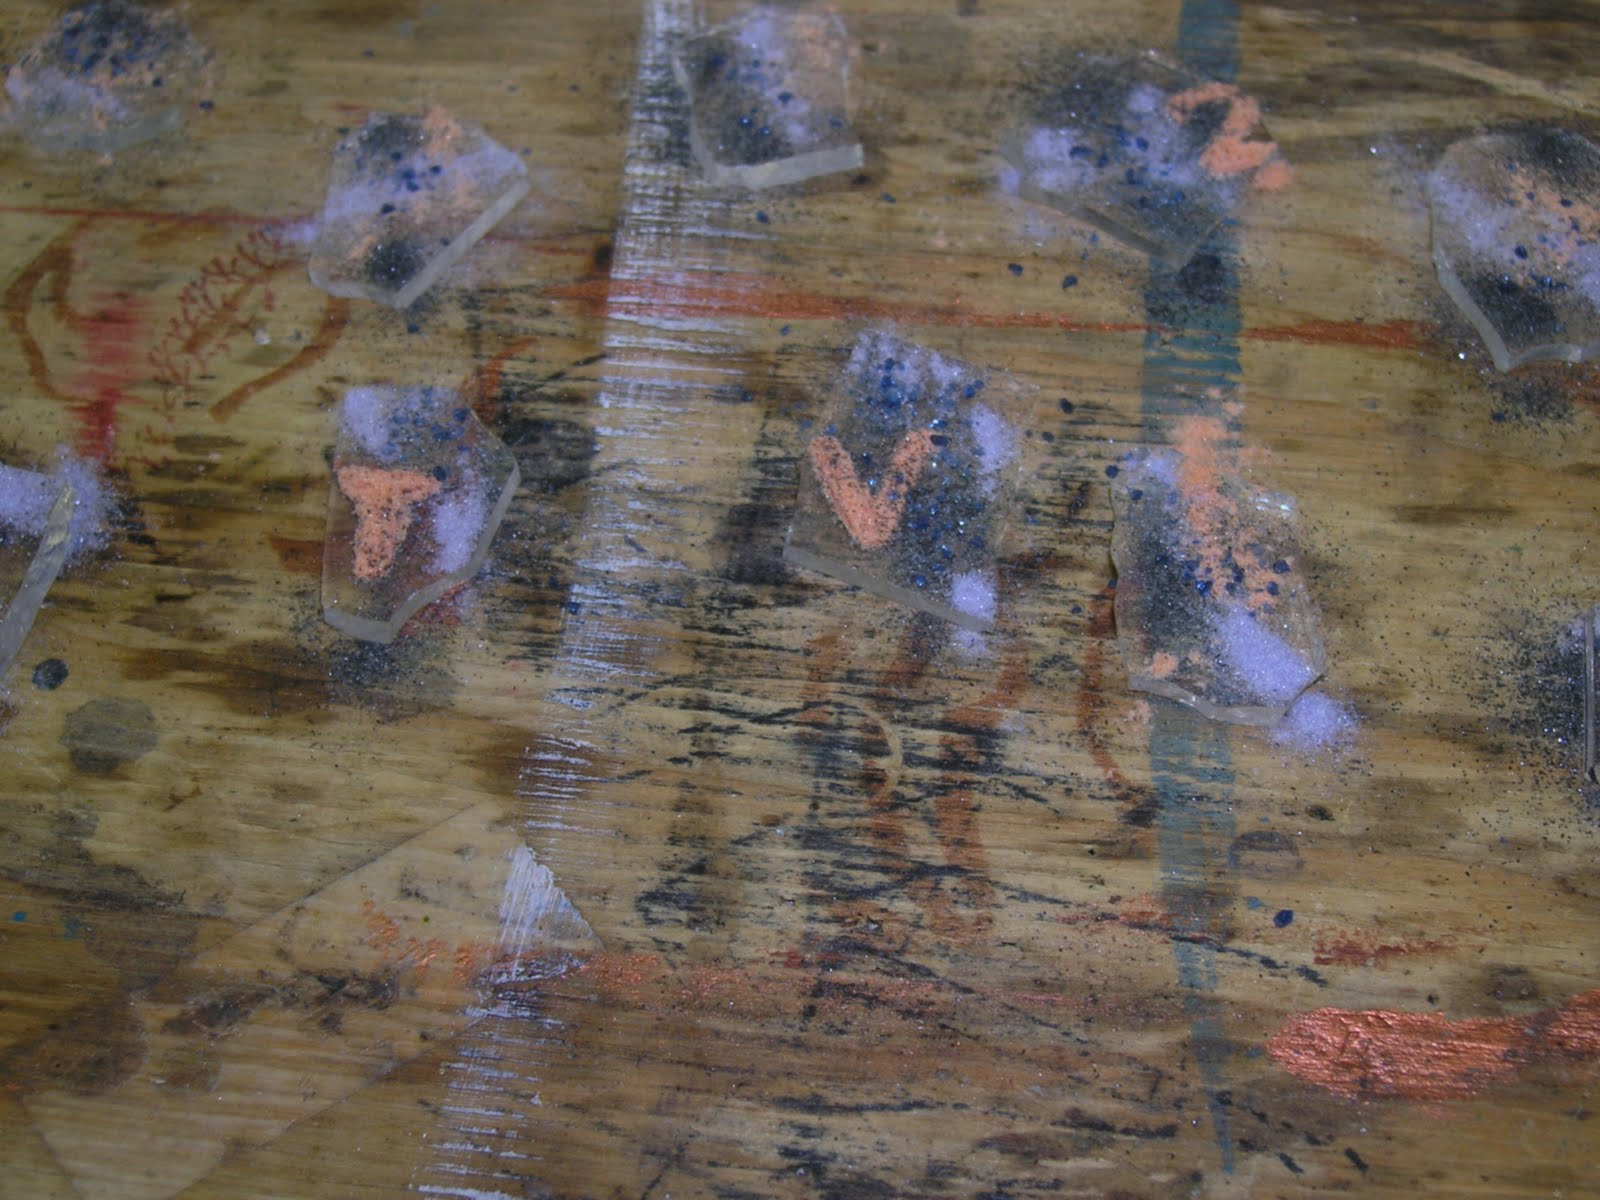
Class will be all about staining glass in the traditional method, using crushed glass. 
Now a days you can purchase crushed glass with the proper mixture of flux and ore and whatever mineral is needed to strike the desired color (enamel) but, back a hundred years or so ago this was mixed on site.

Today with the handy prepackaged vials, we are also blessed to have the formula without lead!  Making use so much more friendly.

There is still a bit (quite a bit) of technical know how involved and this class, we will help you in this area.
With the many binders that can be used when mixing these agents for applying to glass, the many variables involved when you use such and such binder and the effect said binder will end up giving after firing the glass applied with stain offers, there is easily some confusion. 
We can help clear these questions up.

We will cover binders, we will cover correctly mixing the "paint".  The methods of applying the stain, the techniques used to enhance the stains effects for design, and kiln firing applications.  I don't go into kiln sitters.  Mostly because I don't use them.
The brushes involved and how to set up your workspace.
MUCH more.

The picture above is an example of my work, and you can see others on the website, that is not up to date, you get the idea though.

We will go over faces, how to achieve depth through matting tracing and enhancement lines.  The project will be somewhat figural but with gobs of working in shade and trace.
I am leaning to a bee...simple you think...
While achievable, still a challenge.
I am going to have a few other patterns for following available. 
There is potential to finish more than one project.

The project can be used in lots of ways when finished, incorporated into panel work or perhaps used for making a box.  The final outcome is left to the student.  This will not be part of the class.

Materials for the staining project are provided in the class fee, the use of brushes are offered, or bring your own.   
The class will encompass the 3 FULL days of the retreat, and some night work.

Firing the project in the kiln is part of the education and I encourage the participants to remain for that process, but it is not necessary they stay.
The handout goes over the process and the outcome. 
Some people might want to see the occurrence of "glossing" versus "not glossed yet" stage in the kiln. 
That is a personal decision, but the process will be provided.

The project of the 'stained glass' will be completed but not a project using the glass stained. 
The final firing may not be completed when the student is ready to leave, in which case I will mail the final results to them.

This process is not to be confused with the hobby level of painting on glass using Pebeo or like product to decorate glasses, such as the wine glasses being decorated today.
These are Traditional Techniques and museum quality methods.
(My stained glass work is collected and on permanent display in museums)

You as the student are not required to cut any glass, or be a cold working glass artist, a warm working glass artist or a hot working glass artist.
The only requirement is a desire to learn a method of application that is not easily found in the class room that happens to cover working ON glass and making that permanent.

During the down times when breaks are offered, the participants are encouraged to get out and enjoy the peaceful surroundings of the Lodge we are holding the retreat in. 
Walk the trails, photograph the nature and look for the critters, photograph them.
Participate in the evening with the banter of the fellow artists and join up the sharing of the day from the other instruction being offered at this retreat, around the fire pit. 
This is an enjoyable end to the day and spiritually uplifting way to enter into slumber as we anticipate the next days events.

Fellow instructors will be:
Chad Phillips www.chadphillipsphotography.com photography
Chris Cernetisch www.pastelchris.com pastel
Bonnie Brahms www.brahms-art.us watercolorist
Mary Hunt www.maryshuntstudio.com staining glass

Direct your questions to Mary @ mshemeral@midstatesd.net

These classes are currently being written and the tuition's have not been set yet. 
The Lodge will hold 16 overnighters but they need to be willing to share the room. 
Each room has a bathroom. 
A communal living room and kitchen (for all to use) 
No meals are going to be provided.
Meals can be taken through the several eateries in town, that is but 3 miles from the lodge.
A grocery store is located in town.

In addition, there are a few B&B's and 2 hotels.
This information can be provided and the brochure is being written, now nearly finished!

Consider a weekend being spiritually uplifted through art on the prairie.
Thank you for visiting today.

Mar

Tuesday, October 26, 2010

Next Lesson


the next lesson Julie had us doing involved the heavy gel medium...then picking 1 of the palettes to work our color from to enhance the texture we created from the gel medium...this is my second piece the first one ended up such a disaster...i re-did it 4 times and i still have issues with it...i deduced part of my problem to i see pictures in my textures...we are supposed to be working more in abstract
which is a struggle for me t begin with...i see scenes
so i cam a LONG way in this piece
my next struggle is getting decent pictures..the piece isn't nearly as yellowy as it kinda shows
altho the other picture i initially put on the class site had a lot more yellow hue to it
this one better represents the project...
i am moving on to our next lesson...!
if you haven't checked out my new site please take a moment to..
thanks for coming by!

Saturday, October 23, 2010

Knowing Our Color Pallet...


In this lesson of Julie's class we had three pallete lists of colors we were to blend and texturize for our sample story boards
left to right
Blue board, Red board, Brown board
I didn't take a bunch of pictures of how I got to this point because I don't think that is fair to Julie's class.
Check out her classes she has a lot to offer...from novice to expert...I just think everyone could get benefit from her lessons...

Sunday, August 22, 2010

It Is FINALLY!! Clicking!

Marie Otero is offering digital magic an online class to learn those photshop secrets a lot of you have figured out
I am a slow curve after several books (and they were helpful) another on line class (and she is an excellent instructor as well) it is finally connecting for me...this is week 3 exercise
Marie's barn image we had to manipulate in class.
had 3 textures 2 brushes and 2 lassoed images then text

this is my result..except i spelled incorrectly..oh well


not too bad tho eh!!
of course this is following the step by step instruction
then


I took my own stock photo

a stone outbuilding


I added Maries textures but omitted the text step


and this is what I achieved
i love the look!!!


thank you marie for helping it to finally make the sense i needed to achieve some results!

Sunday, April 25, 2010

Days for Aberdeen Class Seminar Arrive


I arrive in Aberdeen and set up the classroom.

You see along the wall under the windows I set up assembly style.


After a brief lecture about glass in general and about points specific to fusing...the students make a tile.


After much dilemma over kiln issues...no plug after all, for my huge kiln I brought along..a borrowed kiln that essentially wouldn't heat up well...I pushed the little quick fire I brought along to handle the many fuses of the day and here are the students results.
Bails attached and ready to send to them...this about 1/2 of the class projects..at the time the others were in different stages of completion.

All in all I think the students had a great day!

3 other artist involved were
a couple: Nick and Nichole Fisher represented murals
Rocky Hartberg for Story Illustration
Michelle Bacon on Ceramics

Judging workshop with Nathen Cantwell and Emily Williams Wheeler
key note speaker: Brad Bachmeier


We had a full 2 days...it went smoothly and I think everyone teachers included came away with information to ponder.

:)

Prep for Intro-Glass Fusing


I am late late late...posting the process for this class.

This class was given through the Dacotah Prairie Museum in Aberdeen, South Dakota.
April 22-24

For the past 15 years they invite High School students interested
in art to this seminar to learn more on the subject through accomplished artists shown through the museum.


To prepare I made samples of their project.


Cut blanks they worked on decorating with glass powders and frits.


Shows decorated tile before firing in the kiln.


Tiles coming out of the kiln. You will see in another post the students work from that workshop.

The top picture of the necklace was demonstrated to show them where they can take their finished tile.
Glass drilled with holes and jump rings made to fit...created a wearable art piece.

Monday, January 25, 2010

Suzi class Goddess and Poet

Sketching Suzi style was a bit of a challenge for me. I tend to be a stricter formal style. While Suzi is fantasy and formal mixed. Perfect blend for mixed media for sure!
After about 3 sketches I landed one I am going to use for the final big project.
This is the shade sketch we begin with.
Oh and she gives an excellent tutorial for shade/gray scale.
This sketch is okay except for her lips are a bit fuller than I intended but she will do...
The angel class I did (an earlier post) I didn't exactly give my fullest to achieve a rendition worthy of Suzi style...so I am trying to be more faithful in this class... :)
thanks for stopping in

Friday, January 8, 2010

Color Workshop!

Julie Prichard has another excellent class to consider...COLOR! take the confusion of mixing color/colorwheel
learn how to fix goofs...working with acrylics

check her out...I really think you will be impressed with the amount of information this woman offers as a teacher (from past class experience)
and
she is so encouraging
linking up with Golden expert Chris Cozen
this workshop just can't miss...

check out her promo http://www.julieprichard.com/lostluggage/ her blog

http://thelandoflostluggage.ning.com/ her ning for her ning members

Monday, January 4, 2010

Classes!!! classes classes...

I LOVE classes! And what better way than to take an online class...convenience, yes.
Camaraderie, yes!
Instruction...well yes!
BUT
for me
the BEST part is I get a readied project to practice with.

I don't so much need to "learn" a skill, as to practice the skills I already have. (you might feel the same way!)
No matter your level, practice is always key to staying on your game.

It is ALWAYS interesting to see a different approach...you may even learn something new there!

I am a busy person, and so are you...
planning my own project..eh..not enticing and i let it go and let it go
and no practicing...
nothing new...booooooring hunh!

SO many unique classes are being offered this year on line...I will tell the few I am enrolled in
or plan to take...

This is such a great way to keep motivated, be inspired, learn a new technique, or practice with old ones seen in a different approach...I encourage you to take class
be it on line or in a physical studio..

Have a great motivated inspirational beginning to your new year!

I have enrolled in
Suziblu's Goddess and poets...just began
http://suziblu.ning.com/group/goddesspoetjanmay2010?xgi=1QP4cBWkIm8aFR&xg_source=msg_invite_group

DJ Pettits photo workshop...just began
http://rs6.net/tn.jsp?et=1102883510878&s=186&e=001hI2tuxaViALpf-Aws58LvyVJDyHFkdHDRXlxkz8TWv7RTiG52VURTwG2Ylt5qP7CA7ZUF2vcHoaHcdB4mFH72pRI1n8YIaeN2cNThKscReomjkOnUT8xn3ODNwT9MAj1DLn0jG3rfGWzYCGFVzMndO6sAqGSOifhWr6wmNQgv_56qVrU7Puayw==

I plan to enroll in Sharon's class ...she is Norah's blog on the right side
http://allnorahsart.blogspot.com/

and Julie Prichards newest workshop!!! which sounds just awesome...
http://www.julieprichard.com/lostluggage/

these are just a few of many many offered classes...go find one you connect to...and have a great creative spell.

In the future I plan to offer on line classes myself...I have to get all the technicalities of working programs and filming down
then get down to the lessons
maybe this summer

Would you be interested in learning to use the soldering iron more proficiently?
with projects such as box making and solder decorating..simple projects wands...
not so much learn flat panel...I think that is a course better taken with a live instructor
to catch mistakes before they become bad habits, and learn easy approaches...

the classes I will offer up will not require that you have stained glass backgrounds
just a soldering iron, solder, rheostat, and some glass

You can learn all kinds of preliminary basics through simple projects...then continue your quest, should you wish learning how to build panels, perhaps through a local artisan near you...

I DO offer the classes here, but I might be a tad far away for you to get to me...hence,
the next best thing

ON LINE CLASSES!!!

GOOOOO getcha one!!!

:)

Tuesday, July 21, 2009

Earning Their Badge...


A day in the Studio...


These little ladies belong to GEMS a version of Girl Scouts. Their leaders called and book an afternoon of art to earn their art badge.


After a lecture about how many different ways their is to express one's self in an artistic manner..and showing them the bazillion books I have on the subject...and showed them some of the examples I had laying around the room..I gave them a box of stamps, pads and pens and told them to play...

Their efforts have earned them an art badge and made them enthusiastic to their now creative outlet through art...even that thank you note to grandma..they learned this was art..well as well as polite!

they went away happy..

Wednesday, July 15, 2009

Paper Kaleidoscope Class


We had 22 participants ranging ages of 4 to 12. Seen here is my niece Kristy, helping one of the younger students get going putting their scope together. They we all very patient as we went around to each one.


They all had a big time, and did so very well!

Sure wish their little designs showed up in the picture. They all shared the colors and markers well and made what was in front of them work for them...I was pleased no whining.

It didn't take the full 2 hours...so I read to them the instructions for some of the other projects in that book
then they studied the book, looking through it until the parents arrived.

All in all a good experience.

Tuesday, May 26, 2009

Invite!

Dakotah Prairie Museum in Aberdeen, SD's curator, just got off the phone with me, with an invite to participate in a workshop they sponsor through a really cool place. The Grainery, located in rural Groton, SD.

The invitation extends to 4 artist to put forth a workshop to all of the invited high school artists for, a 2 day event.
What an HONOR!!

At the end of the event is a judged art show with the high school art work... they are given an experience of a "professional" show level event.

The workshops are to hopefully inspire the budding young artists to explore mediums they haven't been exposed to, such as 'glass'.

My workshops are only given an hour long so, I will be more of a lecture seminar experience than a hands on shop...and that was fine...so
hey
next April I am going to Groton!

Since i have never been, this should be something!!
Barring snow of course.
:)

Tuesday, May 19, 2009

Layer Lesson One


The red page...and it is RED! I achieved lots of layers, lots of scratches...that I am not sure you can see but, they are there. Not sure I did the lesson according to plan...but I did gain some confidence in the lesson...so I achieved some of what i am after in the class... Julie is a terrific instructor, so don't let my results leave you with different opinion!


Believe it or not this is the same project different photo view.

Thursday, May 14, 2009

Promo For Children's Class


I am building a cardboard kaleidoscope called a teleidoscope...it uses only mirrors and nothing at the end but the view to bounce around the inside.


Here is a close up view of the inside...it isn't much but you get the 'picture'.


This is a children's class promo...so far the basic structure is built..I plan to decorate in just 1 version there are too many ways to go into.
Basically my plan is to do an altered technique on the outside.
The construction itself is using a paper towel center plastic sheeting on white cardboard for the mirrors
and plastic wrap for ends..lots of masking tape to hold it all together.
Right now I have heavy glue over the masked endings to seal it all up fairly well and tomorrow I will begin altering.
Everything is kid safe...but will be adult gorgeous.
This much has taken me 2 hours..so, this much is a 3 hour version of the class.
I figure a week of class, 2 hours each visit.

Saturday, May 9, 2009

New Class...

There is a new class beginning...Layer Love...a video promo is seen over on my side bar (with permission)
it might take a moment to load
because I could NOT get it to be part of my post!
However, I wanted to have it shown to all who visit
so they know about this interesting lady, Julia Prichard, teaching about her style of layering techniques...
she has a smattering of samples in the video as well as on her blog http://lostluggage.typepad.com/

I hope you go visit and see what all the excitement is about!

Wednesday, January 14, 2009

January 8-13 Project

I haven't posted in a few days. My creative everyday activity has been working on these doors, etching these designs onto the glass. I am going to explain the process. It is simple, and the products are available at most craft hobby stores. The resist i use is a commercial grade product, but you can achieve similar result (if really careful) using contact paper. Contact paper is really thin and a person needs to be careful with their xacto knife, as it is really easy to cut and you can easily mis-cut your design. The contact paper is excellent to use for practicing, and simple to find at the hardware store. A commercial grade resist might be available at an art supply store. If you have a stained glass supply store in the area they should have a good selection of decent resist to work with. Resist comes in different mil thickness and each thickness has its useful application. That in itself is a lesson.

Supplies:
glass
xacto knife
resist
acid etch cream (can be found at hobby stores)
masking tape
craft brush
rubber gloves
paper towels
water soft cloth
design (hand drawn or stencil or stamped light resist)
another good source to have a design made these days is to go to the sign painters shop who uses a computer to generate vinyl signs...they can generate a design ready to apply to your glass)
If using your design or a stencil carbon paper is needed to transfer to the resist


I cleaned my glass well, no oils or dirt should come between the resist and the glass. The cleaner the glass the better the bond will be for the resist and the more detail you can achieve in the cutting. I use carbon paper to transfer my design to the resist.

The design is started to be cut out with the exacto knife. The part cut away is what is etched. Typically, the negative portion is cut away. This is determined by how you perceive the final look that you want the "picture" to show.

The design is finished being cut out. Gloves are donned and using the craft brush apply the acid cream...I use a commercial grade, but the hobby paste has a decent formula these days. It is permanent and you just follow the directions. Using the paper towels and the water remove the cream.


Take off the resist..keep cleaning the glass with Windex.


I placed a piece of black paper behind the image to hopefully show you the final results. Etched glass is hard to photograph.
These doors will be picked up, placed into the mans cabinet and enjoyed for years to come.
This etch method is the perfect project for mirrors, glassware, or windows....enjoy creating your own pieces.
If you have questions just email me, I will help you the best I can.
:)


Monday, January 28, 2008

Progress of 1-5-08 class


Vicki will have homework. Her pot is HUGE she has found her way around the pot once with color 1.